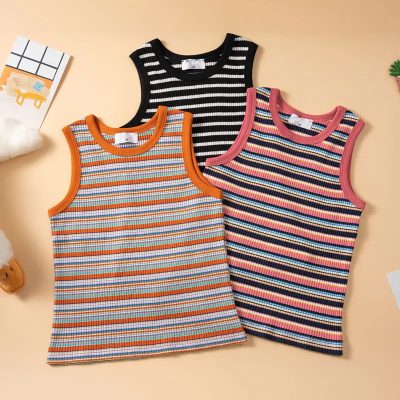
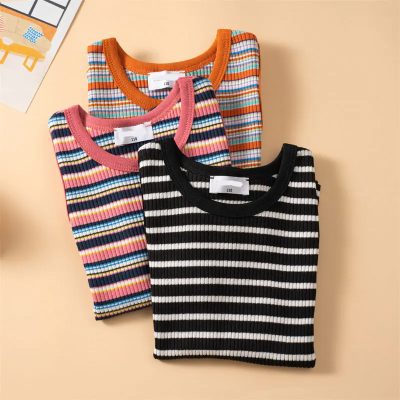
Transforming plain tank tops into unique, custom creations is a fun and rewarding activity that both you and your kids will love. Not only does it allow for endless creativity, but it also provides a great opportunity to spend quality time together. Here are some fun and creative ideas to get you started on DIY custom kids’ tank tops.
1. Tie-Dye Magic
Tie-dye is a timeless and easy way to add vibrant colors and unique patterns to your kids’ tank tops. Here’s how to get started:
- Materials Needed: White cotton tank tops, tie-dye kit, rubber bands, plastic bags.
- Steps:
- Twist and fold the tank tops in various patterns, securing them with rubber bands.
- Apply different dye colors according to your chosen pattern.
- Place the dyed tops in plastic bags and let them sit for 6-8 hours.
- Rinse the tops in cold water until the water runs clear, then wash and dry them as per the instructions.
2. Fabric Paint Fun
Fabric paint offers endless possibilities for custom designs. You can use stencils, brushes, or even your kids’ handprints for a personal touch.
- Materials Needed: Fabric paint, brushes, stencils, plain tank tops.
- Steps:
- Lay the tank top flat on a protected surface.
- Place a stencil on the tank top and secure it with tape.
- Use fabric paint to fill in the stencil or create freehand designs.
- Let the paint dry completely before wearing or washing.
3. Iron-On Transfers
Iron-on transfers are a quick and easy way to customize tank tops with detailed designs, photos, or text.
- Materials Needed: Iron-on transfer paper, printer, iron, plain tank tops.
- Steps:
- Design your image or text on the computer and print it onto the transfer paper.
- Cut out the design, leaving a small border around it.
- Place the transfer face down on the tank top and iron it according to the instructions.
- Peel off the backing paper to reveal your custom design.
4. Embroidery and Patches
Adding embroidery or patches can give tank tops a unique, textured look. This method requires a bit more time and patience but results in a beautiful, personalized piece.
- Materials Needed: Embroidery thread, needle, fabric patches, plain tank tops.
- Steps:
- Sketch your design lightly on the tank top with a pencil.
- Use embroidery thread and a needle to stitch along the lines of your design.
- Alternatively, sew or iron on fabric patches for a quicker customization option.
5. Stencil and Spray Paint
For a more edgy look, use stencils and fabric spray paint to create bold, graphic designs.
- Materials Needed: Stencils, fabric spray paint, cardboard, plain tank tops.
- Steps:
- Place a piece of cardboard inside the tank top to prevent paint from bleeding through.
- Position the stencil on the tank top and secure it with tape.
- Spray fabric paint over the stencil in even strokes.
- Carefully remove the stencil and let the paint dry completely.
6. Rhinestones and Sequins
Add some sparkle to your kids’ tank tops with rhinestones and sequins. This method is perfect for creating eye-catching designs.
- Materials Needed: Rhinestones, sequins, fabric glue, plain tank tops.
- Steps:
- Plan your design by arranging the rhinestones and sequins on the tank top.
- Use fabric glue to attach them to the fabric.
- Let the glue dry completely before wearing or washing.
7. Handprint Art
Handprint art is a wonderful way to create a keepsake tank top that captures a moment in time.
- Materials Needed: Fabric paint, plain tank tops.
- Steps:
- Apply fabric paint to your child’s hand.
- Press their hand firmly onto the tank top to create a handprint.
- Repeat with different colors or add other elements like names and dates for a personalized touch.
Conclusion
DIY custom tank tops are a fantastic way to express creativity and make one-of-a-kind clothing for your kids. Whether you opt for tie-dye, fabric paint, iron-on transfers, or any other method, the result will be a unique piece that your child will love wearing. So gather your materials, roll up your sleeves, and have fun creating these personalized tank tops together!


